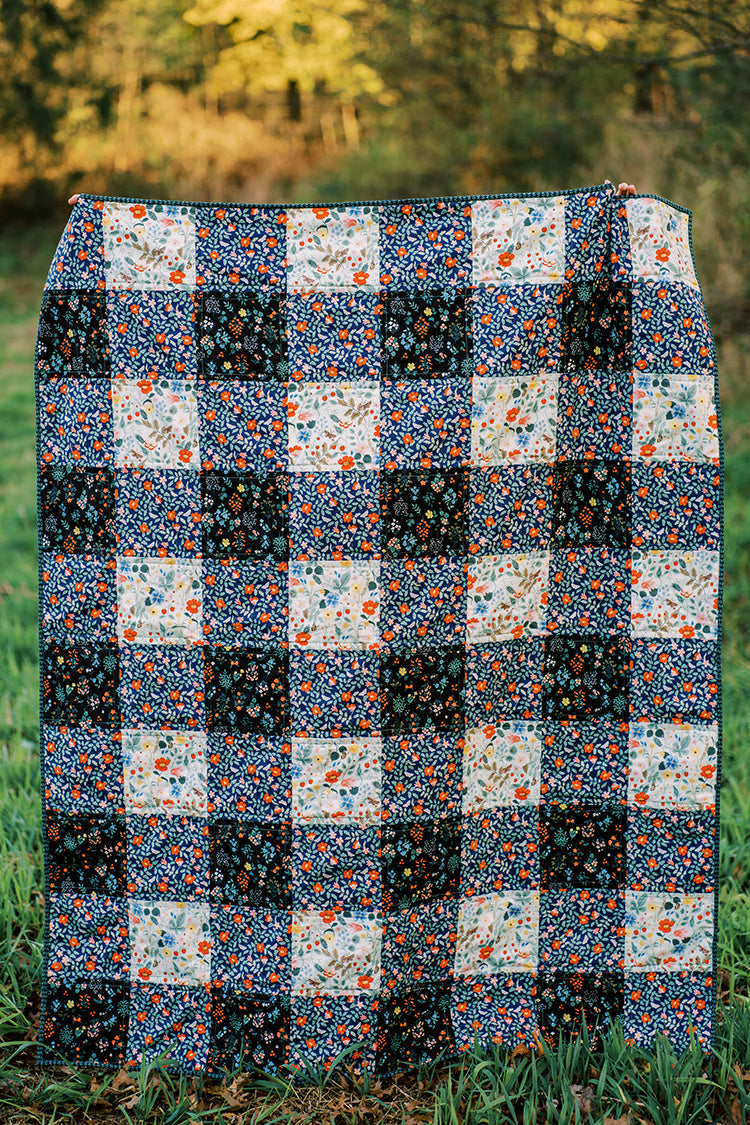
Making a Quick and Easy Gingham Quilt
|
|
Time to read 7 min
|
|
Time to read 7 min
Welcome to the whimsical world of easy gingham quilt blocks, where charm meets creativity in every stitch! If you're ready to infuse your quilting projects with a playful twist, then you're in for a treat. Gingham, with its timeless checkered pattern and vibrant colors, is the secret ingredient to crafting quilts that are as quirky as they are fabulous. So, grab your fabric scissors and let's dive into the delightful journey of stitching up some serious fun!
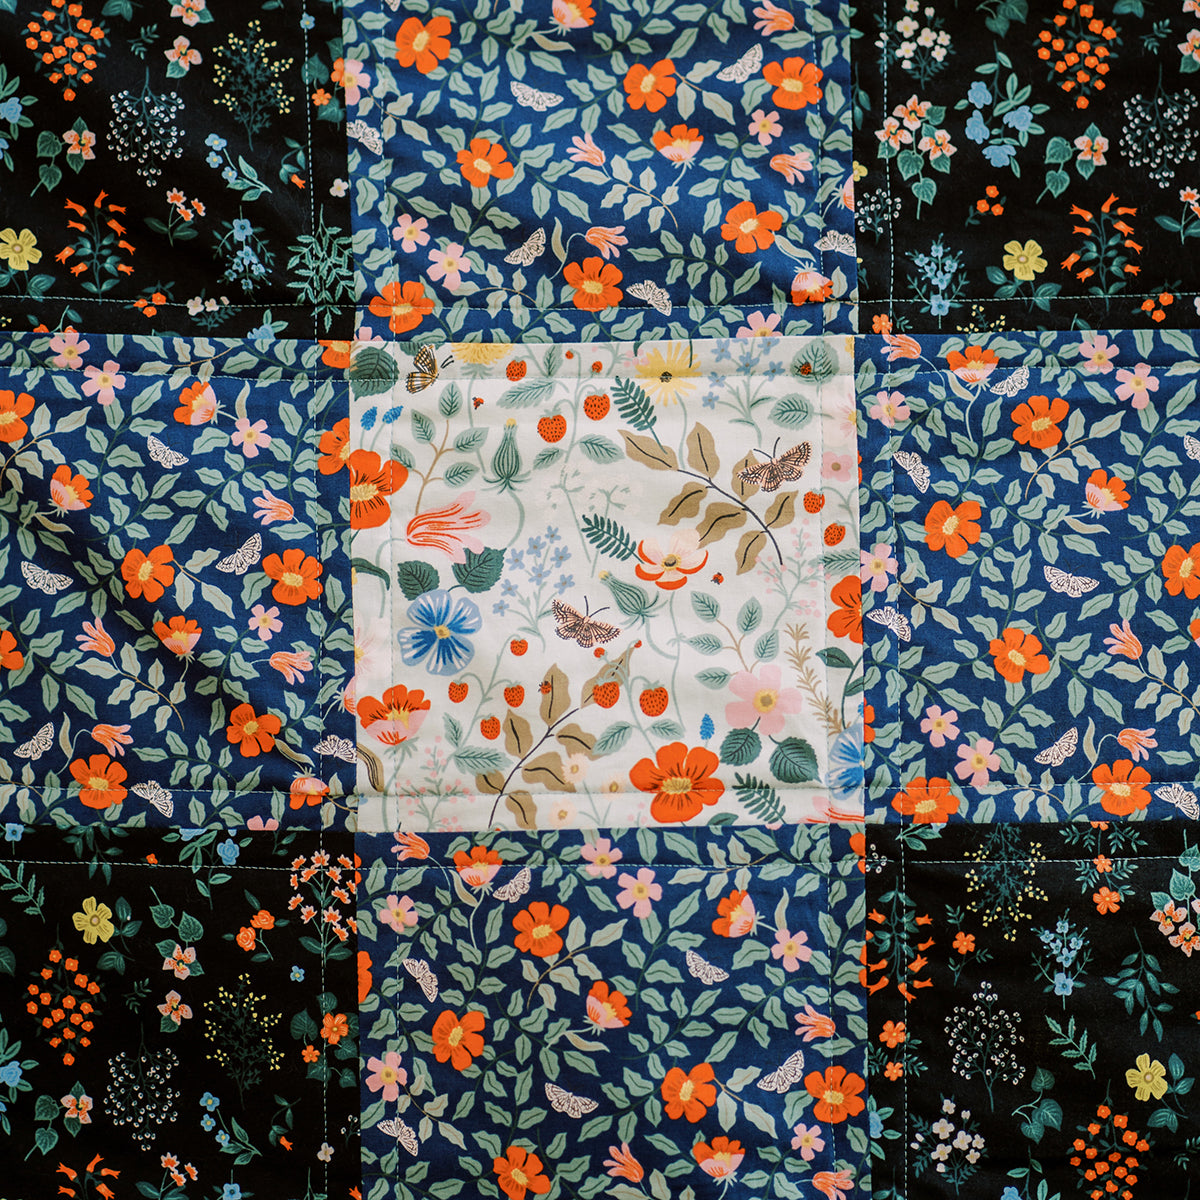
Table of Content
Alright, let's start with the basics - what in the world is gingham anyway? Well, let's dive in the history a little bit.
Gingham fabric has a rich history dating back to the 17th century. It originated in Southeast Asia, particularly in Malaysia and Indonesia, where it was known as "genggang" or "ging-gang," meaning striped. It was initially woven from cotton or silk and featured stripes in various colors.
During the 18th century, gingham became popular in Europe, especially in the textile manufacturing hubs of England and France. It was primarily used for aprons, kerchiefs, and other garments worn by the working class due to its durability and affordability.
In the 19th century, gingham gained further popularity in the United States, particularly in rural areas. It was favored for its simple checkered pattern, which added a touch of charm to clothing and home decor items. It became associated with wholesome American values, often featured in picnic blankets, dresses, and tablecloths.
Throughout the 20th century, gingham continued to be a staple in fashion and home decor, evolving with changing trends. It has been embraced by designers and fashion houses, appearing in both casual and high-fashion collections.
Today, gingham remains a beloved fabric cherished for its timeless appeal and versatility. From classic picnic blankets to stylish dresses and modern home decor, gingham continues to captivate with its charm and simplicity.
The gingham pattern is made up a 4 fabric blocks. I call this my 4-square block. You need 1 dark, 2 medium, and 1 light colored blocks to create your 4 square.
Below I show some examples of fabric pairings so you can get some inspiration.
Before we dive headfirst into the gingham goodness, let's round up our materials like we're gathering ingredients for a crafty cocktail:
** If you want to skip all the fabric math, click the Yardage Size Chart below to get an easy cheat sheet!
For an effective Gingham pattern you will need 3 fabrics that coordinate and have a similar coloring.
You will need a light, medium, and dark fabric.
See the images on the right to see some examples of pairings.
The main thing to remember when choosing your fabrics is that when you lay it out in your 4 square, that there is enough contrast between each of the fabrics.
Fabric Options
To get started cutting your fabric, you first need to determine how big you want to make your project. Some common quilt sizes are below:
Baby: 36" x 36"
Throw: 50” x 65”
Twin: 70” x 90”
Full: 85” x 88”
Queen: 90” x 108"
For the purpose of this project, we are going to make a throw size, and I will show you how I come up with the math so you can apply it to any size project.
Throw Size = 50" x 60"
I like to cut my squares into 6 inch squares, and after seam allowances those squares are 5.5"
I take my finished square size (5.5") and take the width of my finished project.
50" wide / 5.5" = 9.09 - round that to 10 blocks because we need an even number of blocks since our main block is a 4 square.
60" wide / 5.5" = 10.09 - round that to 12 blocks because we need an even number of blocks since our main block is a 4 square. This will also make the quilt a rectangle instead of a square.
So our throw size quilt will be
10 blocks wide x 12 blocks long
Now that we have figured out how many blocks you will need for your whole quilt, let's break it down by fabric.
We are going to keep the sample of the Throw size quilt, with 10 blocks wide x 12 blocks long
First Row
Focusing on the first row, we can tell from the 4-square that our first row consists of medium and light pieces. Therefore 10 blocks across / 2 fabrics = 5 blocks of each fabric
5 blocks light fabric
5 blocks medium fabric
Second Row
Focusing on the second row now, we can tell again from the 4-square that our second row consists of dark and medium pieces. Therefore 10 blocks across / 2 fabrics = 5 blocks of each fabric
5 blocks medium fabric
5 blocks dark fabric
Summary
Once we add everything together, we need to figure out how much we will need for the whole quilt. Since the rows alternate every other, we know that we will have 6 rows of each ( first + second row)
5 blocks x 6 = 30 blocks light fabric
10 blocks x 6 = 60 blocks medium fabric
5 blocks x 6 = 30 blocks dark fabric
Now that you have figured out how many blocks you need for your project, lets breakdown how much yardage you need to buy if you aren't pulling out of your stash!
We are going to keep the throw size example from above.
Quilt cotton comes approximately 40" wide on the bolt, so we are going to use this for our example.
40" / 6" block = 6.67 blocks ~ 6 blocks
So for every 6" of yardage we can get 6 blocks.
Therefore for the yardage needed for our light and dark blocks:
30 blocks / 6 per 6" strip = 5
5 strips needed of 6" = 30"
1 yard = 36 inches
For those of you who don't want to a bunch of math, here is an easy cheat sheet:
Throw Size:
1 yard Light Fabric,
2 yards Medium Fabric
1 yard Dark Fabric
For yardage of more sizes see down here
Sewing
Now that we have all our yardage cut we can begin sewing! Before we begin, I like to layout my 4-square with my stacks of fabrics. I put this right next to my sewing machine therefore I never make a mistake and have to pull out my seam ripper.
I like to break this down by sewing my top row pieces pieces together and my second row pieces together.
Grabbing 1 medium and one light fabric, right sides together, and sew together at a 1/4" seam allowance on the right hand side. Go ahead and batch sew all of those pieces.
Now do the same thing with your second row blocks, the dark and medium.
Once you have all your sets of blocks are sewn together, you can iron them all at once!
Ironing
I like to iron my seams open, I feel like it makes it easier to line up my seams when sewing everything together. You are more then welcome to iron your seams to one side and nest them.
4 Square Blocks
Now you have all your Medium, Lights and Dark, Medium sets sewn, its time to assemble your 4 square blocks.
You can batch sew these by sewing your first row blocks and second row blocks together.
You'll end up with 30 4-square blocks.
Since we already figured out how blocks are across and down, you just need to keep sewing your 4-squares until you have the right amount!
As a reminder for the throw you will have 10 blocks across and 12 blocks down.
After your quilt top is assembled, you can choose to quilt it however you desire! I like to keep it simple with topstiching lines, but the choice is up to you!
And there you have it, folks - the whimsical world of easy gingham quilt blocks! With its playful charm and endless possibilities, gingham is the perfect pattern for adding a pop of personality to your quilting projects. So, grab your fabric and get ready to stitch up some serious fun! After all, in the world of quilting, there's no such thing as too much whimsy! 🎨✂️ #QuiltingMagic #GinghamGalore #CraftyCreativity
The Author: Ariane Gagnon
I am a fabric enthusiast and designer from Philadelphia. With a Bachelor's in Fashion Design from Ryerson University, I've followed my childhood passion for fabrics into a career. After working as a designer in NYC, I now run a fabric store from my home studio, indulging in my love for sewing every day. Join me as I share tips, stories, and the joy of creating with fabric."

Your cart is currently empty.
Start Shopping


